

Hobonichi products are massive in the online stationery community, and I’ve been curious about them for a long time. The Hobonichi Weeks in particular always appealed to me as a small, customisable planner, but I wasn’t sure it would justify the price tag. Especially as I’m notorious for starting planners at the beginning of the year and then letting them slip within a couple of months!
This year, however, I finally decided it was time to pull the trigger and buy my first ever Hobonichi Weeks. And what finally convinced me to do it? One Piece!
I saw that there was an adorable One Piece themed edition with the Thousand Sunny on it, and I knew I had to have it. I’d already been debating over getting a Weeks, and so when I saw there was one themed around my favourite anime and manga, it was an easy decision. I also bought the matching One Piece Weeks pencil board, and a protective plastic cover.
I was so excited at the end of November when it arrived, but then faced the difficult task of figuring out how best to use it, and setting up my system from scratch. I didn’t want it to end up as one of the many planners I’ve started and then dropped: I wanted it to be a genuine tool that would help me organise my life, blog and writing.
The problem was that I’d watched so many Weeks set-up videos, and seen so many people’s systems on Instagram that I almost felt as if I had too many ideas floating around in my head. I had to think really hard about my own needs, and what would actually be helpful to me in a planner. Since my main problems are productivity and sticking to habits, I wanted those to be my focus over anything else.
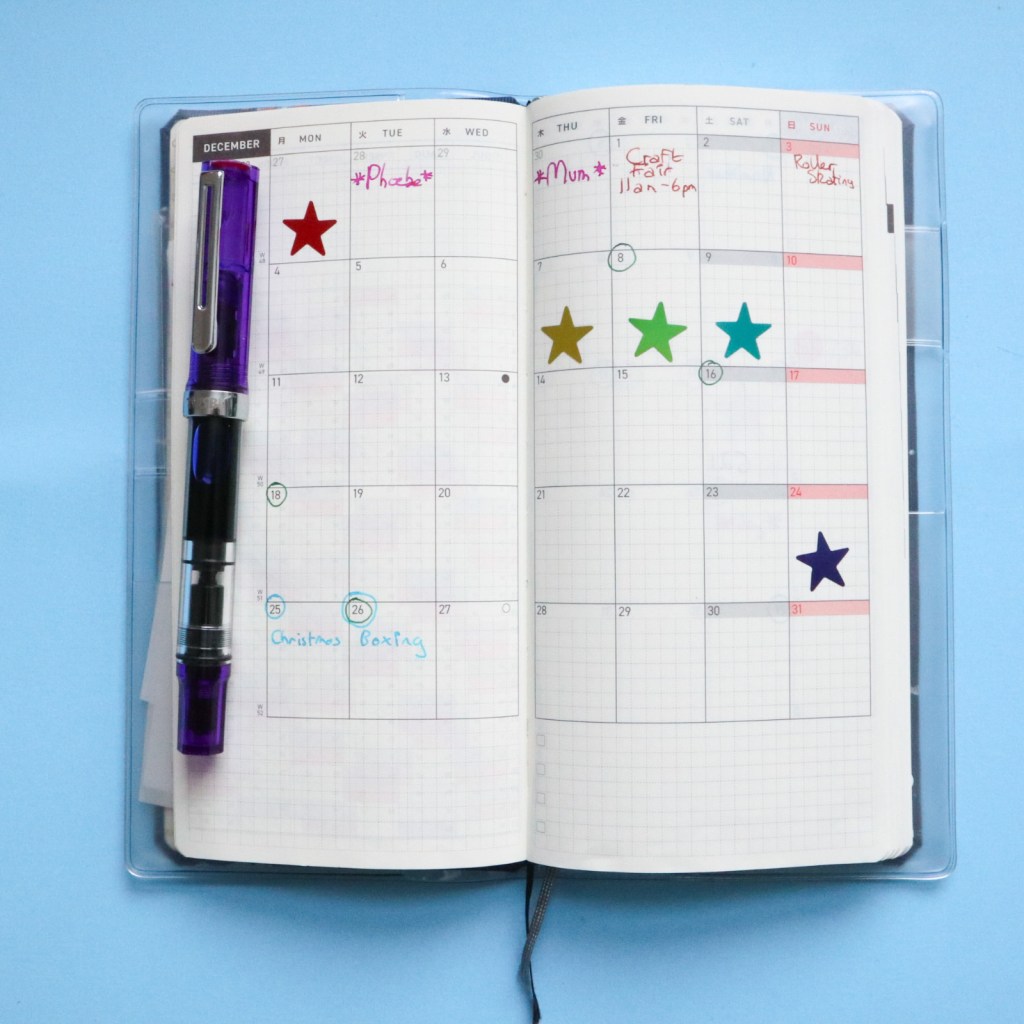
So I started out on the month calendar pages and decided to keep it simple. I marked up important dates like birthdays, events, days off and annual leave from work, and then decided that otherwise, I would basically use it as a reward chart. On days I worked on my fiction writing I’d stick a star sticker, and so at the end of the month I’d be able to easily look back and see how productive I’d been. As you can see, December was a terrible month for my writing productivity, but to be honest, that was expected, since it’s such a busy time for me at work!
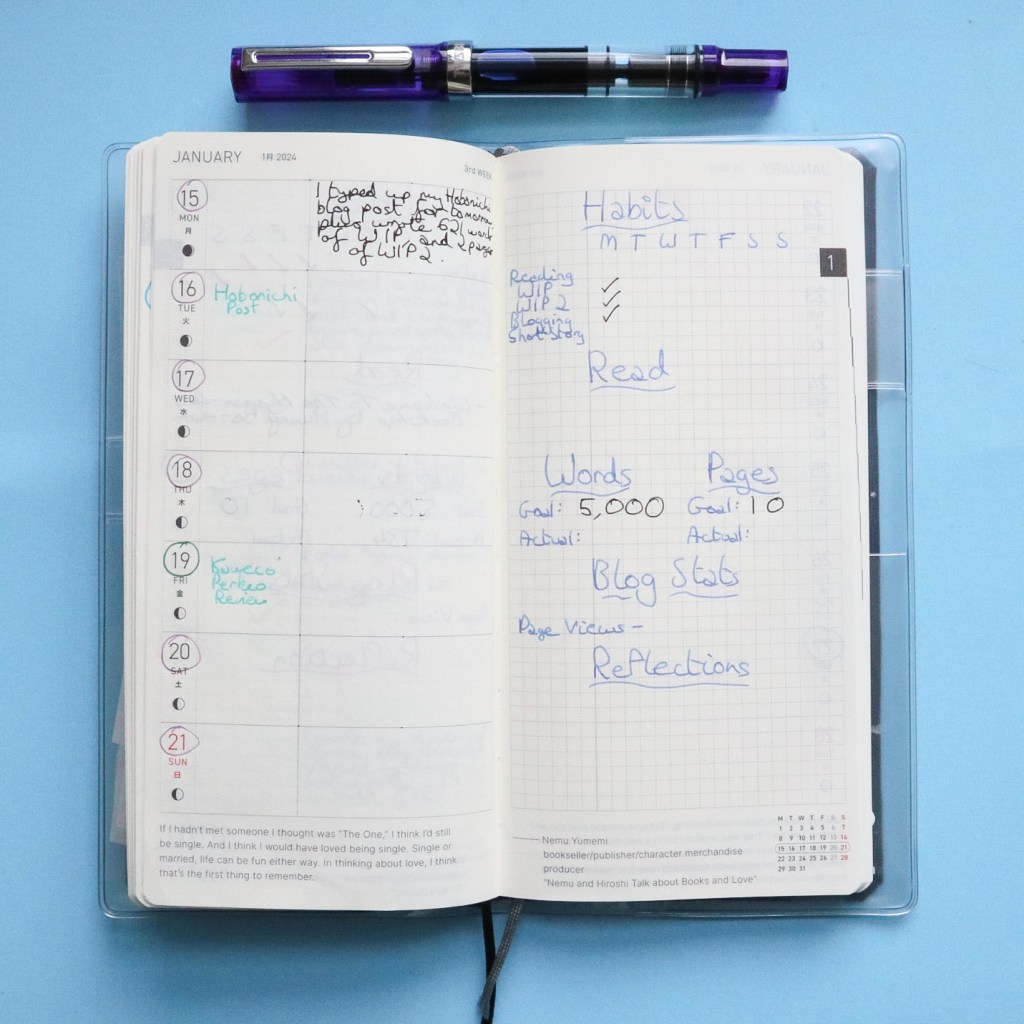
On the Weeks pages I split the Week side into two. The smaller column I’m using to write in events to remember, plus schedule my blog posts, whilst the large side on the right is where I write a short productivity report every day. I note down what productive things I did relating to my writing and blogging, because I feel like this encourages me to do more, as I want to have something to record.
On the blank page opposite, I’ve started at the top with a habit tracker. These aren’t necessarily things I want to, or expect to work on every day (I literally wouldn’t have time for all that, every day!), but I would like to work on all of them at least a couple of times a week. The categories I’ve included are reading, WIP (work-in-progress, my main writing project), WIP 2 (my secondary work-in-progress), blogging, and short story writing.
Beneath the habit tracker I’ve included space to record what I read that week, and then a writing tracking section. On this tracker I track two projects: my main work-in-progress, which I’m typing straight onto the computer, and my second work-in-progress, which I’m handwriting. So on one side of the tracker I have space to set a weekly word count goal for my first project, and on the other, a weekly page goal for my second project. Underneath the goals I then have an area to write what I actually achieved at the end of the week.
Beneath this tracker I have a space to record my blog stats for that week (my blog is still very new, so that’s something I want to keep track of as I’m building it up), and beneath that is the reflections section. In this section I use my daily productivity logs to consider how my week went, what I achieved and how I can do better in the future, and I just write a few lines about it.
I’ve been using this weekly setup for a few weeks now (since the start of the planner, in early December), and I feel like it’s been working out for me so far, although I may make tweaks to my system as I go along.
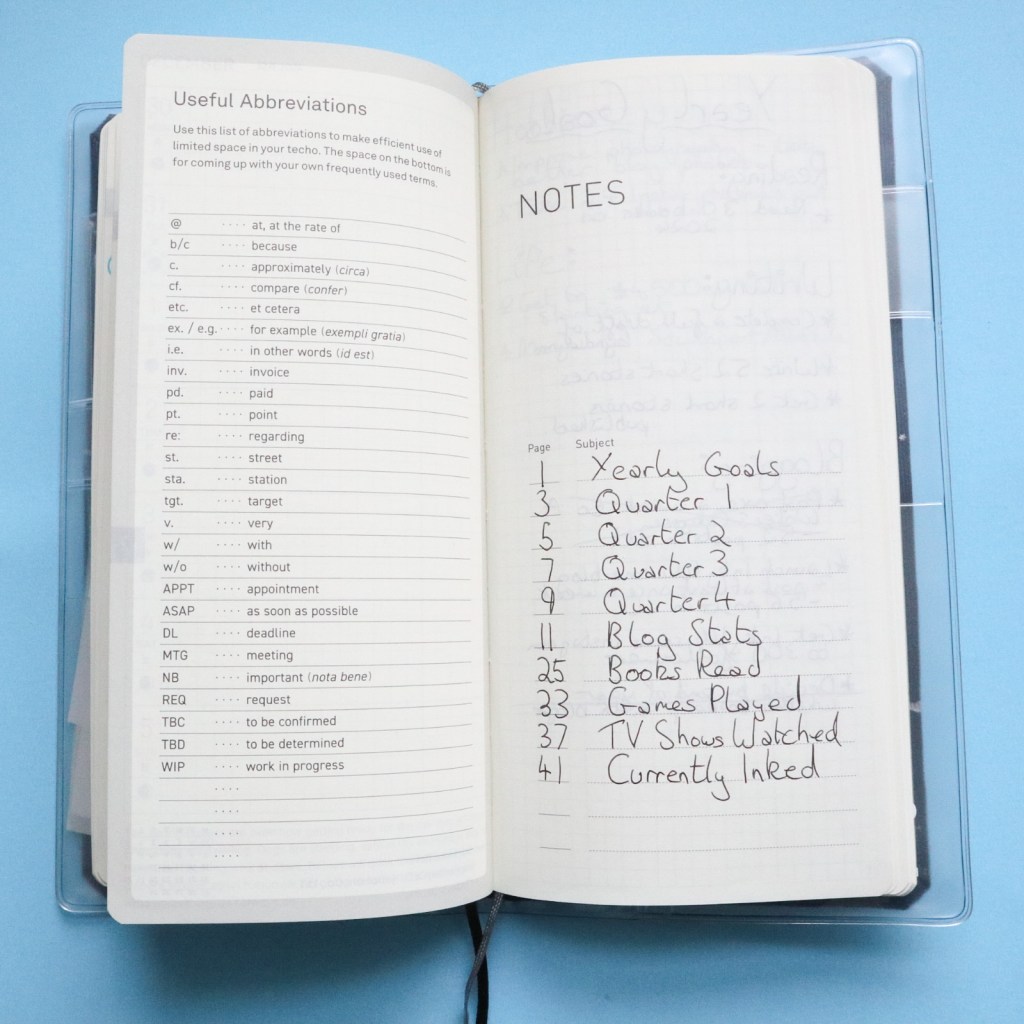
I’ve also been using the blank pages at the back of the Weeks for several things. I’ve set up sections for my yearly and quarterly goals, and to track my blog stats in more detail, throughout the year. I then also have a few fun sections relating to my various hobbies, including space to track what I’ve been reading, TV shows I’ve watched, and video games I’ve played. I’ve also moved my Currently Inked record into my Hobonichi Weeks, so I’ll be able to look back and see what pen and ink combinations I used throughout the year.
So far I’ve been really loving using my first ever Hobonichi Weeks, and I’ve already seen a slight increase in my levels of productivity now that I’m monitoring it in the planner. I’m hoping that with the help of my Hobonichi Weeks, 2024 will be my most productive year yet!
So do you use a Hobonichi Weeks? What is your set-up? Or what planner are you using in 2024?


Leave a comment